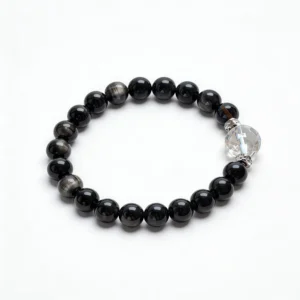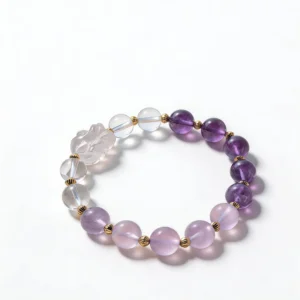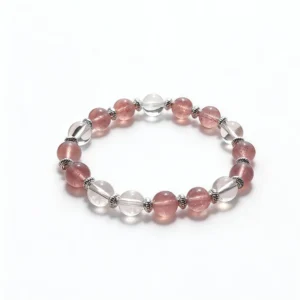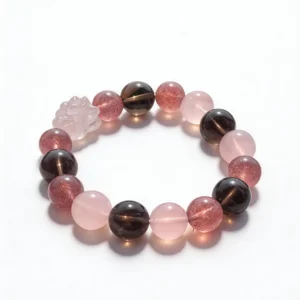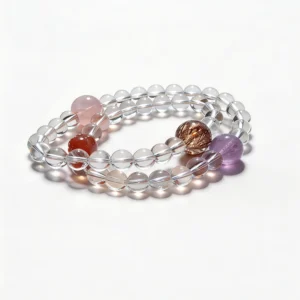


A bracelet stack can look orderly in a flat photograph and behave very differently on a moving wrist. Beads slide toward the hand, focal pieces rotate, charms meet watch cases, and several elastic strands occupy more space than one. A useful stack plan therefore needs a wear test, not only a color arrangement.
This guide concentrates on spacing, movement, contact, and fit. Add one bracelet at a time, observe what changes, and keep only the combinations that remain easy to wear through ordinary tasks. Visible stone variation and styling preferences still matter, but the physical interaction between the strands is the main subject here.
Map the Usable Wrist Zone
Begin with an empty wrist and identify the area between the hand joint and the lower edge of a sleeve or watch. Bend the hand back gently, rotate the forearm, and note where jewelry would meet the base of the hand. That space is the practical zone for the stack.
Measure wrist circumference using the method in the bracelet size guide. Then consider width. Three 8 mm strands placed side by side occupy at least 24 mm before gaps, spacers, or charms are included. Larger beads and projecting components need more room than their nominal diameter suggests.
Decide whether a watch is part of the layout. Keep it in place during the test because removing it creates a different amount of space. Also wear a typical sleeve. A narrow cuff can push bracelets toward the hand, while a loose cuff may fall between strands.
Run a One-Bracelet Baseline
Wear the first bracelet by itself for several minutes. Check how far it travels when the arm points down, rests on a desk, and turns palm-up. Notice whether the beads stay near the wrist bone or slide against the hand. This gives you a baseline before another strand changes the movement.
Use the widest or most structured bracelet first. It is usually the piece with the largest beads, a prominent focal component, a clasp, or rigid findings. Record its position in a quick photo. If it already fills the available zone, adding more strands may reduce mobility or make every component harder to see.
Do not infer fit from an enlarged product image. Use listed circumference, bead diameter, and fastening details. Natural-stone appearance can vary, and a photo alone cannot establish material identity.
Add One Strand at a Time
Place a second bracelet beside the baseline piece and repeat the same wrist movements. Watch which strand travels farther and whether one rolls over the other. If the pair stays distinct, add a third. This sequence makes it easier to identify the exact addition that introduces crowding.
Record three positions
- Arm down: shows how the stack gathers near the hand.
- Desk position: shows where beads meet a work surface or keyboard edge.
- Palm up: shows rotation, gaps, and hidden focal details.
Keep the order unchanged during one test. If the result feels awkward, swap only two adjacent bracelets and repeat. Changing several variables at once makes it difficult to understand why the new order works better.
Manage Bead-to-Bead Contact
Adjacent round beads meet at small points as the wrist moves. Similar bead diameters often form a fairly even edge, while a large strand beside a small one can overlap more visibly. Neither layout is automatically preferable, but the contact pattern should be deliberate.
Listen as well as look. A quiet stack may suit desk work, while a group with metal spacers or hanging components can make more sound. Test the combination in the setting where it will be worn. If repeated contact is distracting or leaves components wedged together, remove a strand or change the order.
A narrow spacer bracelet can create separation, but it also adds width. Test the actual piece rather than assuming that a thin appearance means it occupies no room. Check whether its findings sit between neighboring beads or ride above them.
Separate Hard Components
Charms, carved focal beads, metal caps, clasps, and watch cases can meet during movement. Place projecting details where they have clearance. A charm may work better on the outside edge of a stack, while a smooth strand can sit beside a watch.
Inspect loops, bails, jump rings, and drilled edges before combining pieces. The connection should be visible and the listed construction should be clear. For a closer method focused on symbol orientation and attachment details, use the rune bracelet design guide.
Turn the wrist through a full circle and check whether a focal component can catch beneath another strand. If two hard details repeatedly meet, move them to opposite edges or wear them separately. Styling should not depend on components remaining in a position they cannot naturally hold.
Check Stringing Under Combined Movement
Each bracelet still needs to move as its own object. Several elastic strands should not become twisted into one tight band. After putting the stack on, separate the bracelets with a finger and confirm that each returns to its own circular path.
For clasped pieces, keep the fastening accessible and verify that adjacent beads do not press the lever or cover the opening. For adjustable cords, secure loose ends so they do not wind around neighboring charms. Use the maker’s instructions for the specific fastening method.
Remove elastic bracelets one at a time instead of pulling the entire stack over the hand together. This preserves the order for inspection and avoids applying the force of several strands at once.
Test Real Daily Positions
A short movement check reveals more than a staged wrist pose. Type a brief paragraph, pick up a cup, fasten a bag, put on a jacket, and reach into a pocket. These ordinary positions show whether the stack moves into the hand, disappears under fabric, or contacts nearby objects.
At a desk, note which bracelet reaches the surface first. A large focal bead may become the contact point, while a smaller strand may sit above it. Change the order and repeat before deciding which arrangement feels most practical.
For sleeves, test both putting the garment on and taking it off. A cuff can pull several bracelets into a different order. If the stack only works after repeated rearrangement, simplify it for that outfit rather than forcing every bracelet into the same session.
Track Rotation and Visual Migration
A stack rarely keeps its flat-lay arrangement throughout the day. Photograph it after the arm-down, desk, and palm-up positions. Compare where the largest bead, charm, or contrasting strand moves. That change is visual migration.
If one detail must remain visible, give it an edge position or pair it with quieter neighboring strands. A rotating focal bead may still work when its reverse side is visually finished. A one-sided component needs more careful placement because it can turn away from view.
Use a ten-second video for reflective beads or mobile charms. Video shows collisions and rotation that a still image can hide. Keep filters off and include the full wrist so scale remains understandable.
Build a Repeatable Stack Record
Save one photo of each successful combination and write the order from hand to arm. Add bead diameter, fastening type, and any watch or sleeve used in the test. This small record helps rebuild a stack without starting over and makes future purchases easier to compare.
Use simple labels such as smooth 8 mm strand, carved focal bracelet, or metal charm piece. Avoid assigning unverified material names from appearance. When identity matters, rely on the product listing and available documentation.
Limit the record to combinations you actually wore through the movement test. A visually appealing arrangement that immediately tangles is better kept as a photograph than treated as a repeatable wearing plan.
Review Listings for Stack-Relevant Details
- bracelet circumference or supported wrist range;
- bead diameter and focal-component dimensions;
- elastic, clasp, or adjustable-cord construction;
- clear views of drilled holes, loops, and findings;
- full-strand and on-wrist photography;
- named materials and disclosed enhancements;
- care, return, and contact information.
Compare the same fields across products. Browse crystal bracelets and the wider QZZEN shop as visual references, while checking the current details on each individual listing.
Separate the Stack for Storage
Take the bracelets off one at a time and inspect them before storage. Keep charms and metal findings from pressing against polished beads. A divided tray or separate soft pouches preserve the components as individual pieces and make the next wear test easier to reconstruct.
Store elastic bracelets flat rather than stretched around a display object. Follow the supplied care directions for each named material and finish. If a loop, cord, clasp, or drilled edge appears loose or damaged, set that bracelet aside until the connection can be evaluated.
Let Movement Decide the Final Order
A practical bracelet stack is more than a row of coordinated beads. It has enough wrist space, predictable movement, clear component separation, accessible fastenings, and an order that survives ordinary positions. Start with one bracelet, add one variable at a time, and keep a record of combinations that work.
Create With QZZEN
Plan One Strand Before You Build the Stack
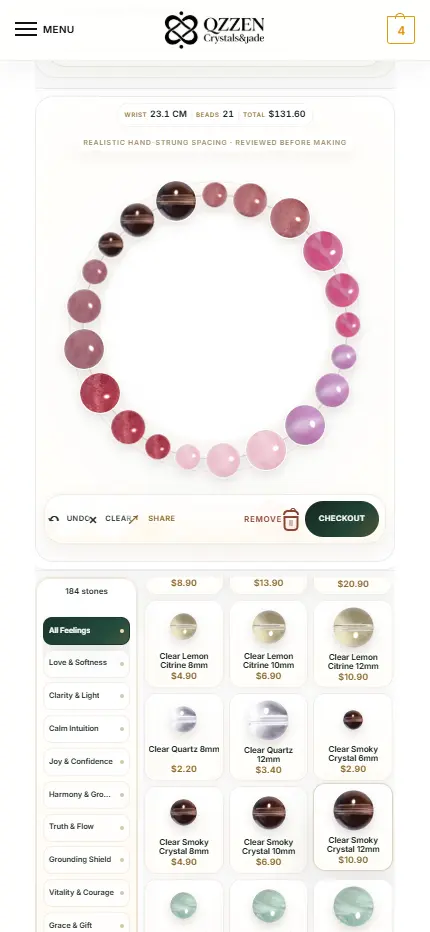
Use QZZEN Create to compare bead scale, spacing, and a finished circular layout for one custom bracelet. Then apply the same incremental wear test before placing it beside other pieces.