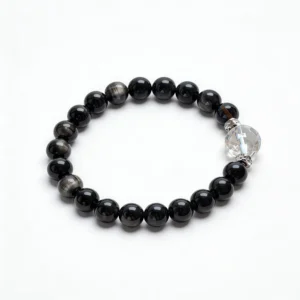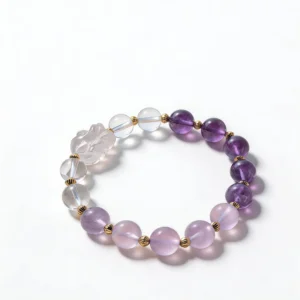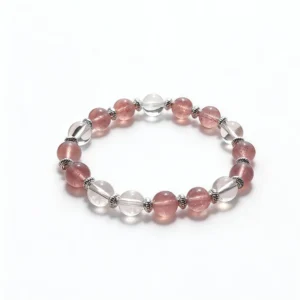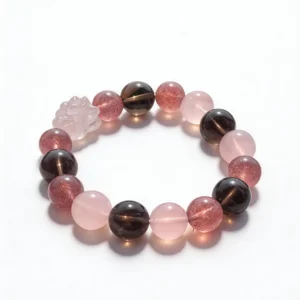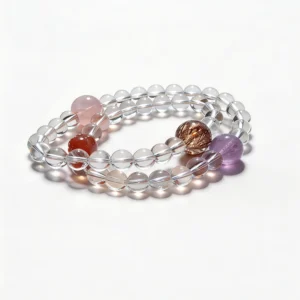


A rune bracelet is easiest to evaluate when you separate the symbol from the surrounding styling. The mark may appear on a focal bead, a hanging charm, a metal spacer, or a carved stone. Its position, orientation, edge quality, scale, and contrast determine whether the design remains readable once the bracelet turns on the wrist.
This guide treats the rune as a visible design element. It does not assign a translation, date, cultural origin, or guaranteed result to an unidentified mark. When those details matter, use a clearly labeled reference supplied by the maker and ask for clarification rather than guessing from a product photo.
Begin With an Exact Symbol Reference
Start with a straight-on image of the symbol. A useful listing should show the complete mark without a finger, reflection, or neighboring bead covering an edge. Compare that view with any name or description provided on the page. If the mark is not identified, describe it as a geometric or carved motif instead of assigning it a specific interpretation.
Orientation deserves a separate check. A symbol can look different when rotated, mirrored, or wrapped around a curved bead. Look for a second image showing the bracelet in its normal wearing position. For a hanging charm, note which side faces outward and whether the piece can flip. For a focal bead, check whether the drilled channel keeps the mark upright or lets it roll underneath the wrist.
Use a four-view comparison
- Front: the entire symbol shown square to the camera.
- Angle: a side view that reveals carving depth and surface curve.
- Attachment: the drilled bead, loop, bail, or jump ring in close detail.
- Wrist: the finished bracelet at ordinary viewing distance.
These views answer different questions. A macro image can show the cut edge, while the wrist image reveals whether the motif is still legible at its actual size.
Read Engraving Through Edges and Contrast
Inspect the line width from one end of the mark to the other. Consistent lines create a deliberate appearance; abrupt thick spots, chips, or blurred corners can make a small symbol difficult to read. On a polished surface, move past the brightest reflection and look for the actual boundary between the groove and the bead.
Dark fill inside a pale bead can produce strong contrast. A mark cut into dark stone may depend on reflected light instead. Neither approach is automatically better. The useful question is whether the symbol remains visible in normal indoor light, not only in a bright studio close-up.
Also inspect the area around the drilled hole. A carving placed too close to the channel may appear crowded or lose an edge. If pigment or metallic color is used in the groove, the listing should make that finish visible and provide suitable care directions. Appearance alone does not identify the fill material.
Give the Motif Enough Visual Space
A rune bead needs space to function as the focal point. Two plain beads on either side can create a clean pause before the rest of the strand resumes. Decorative spacers can frame the symbol, but thick caps or high-contrast charms may compete with it. Build the arrangement outward from the focal element and add one detail at a time.
Repeated symbols create a pattern rather than a single focal point. Check whether each repeat faces the same direction and whether the spacing stays consistent around the strand. If only one side is engraved, a rotating bead may produce alternating marked and unmarked views during wear. That movement can be part of the design, but it should be visible in the product photography.
For a charm, leave enough clearance for movement without letting the piece strike a watch case or neighboring metal detail. The bracelet should still form a natural circle when laid flat rather than being pulled into an uneven shape by one heavy component.
Pair the Symbol With Bead Character
Color, translucency, sheen, and visible variation change the setting around the rune. A quiet, low-contrast strand keeps attention on an engraved focal bead. A varied strand makes the full bracelet more active, so the symbol may need stronger scale or contrast to remain distinct.
Photographs can help compare these visible properties, but they cannot confirm stone identity by themselves. Use the seller-provided material name, bead measurements, and any disclosed enhancements alongside the images. Compare several neighboring beads instead of treating one selected close-up as representative of the entire bracelet.
A current rune bracelet listing can be used as a practical page-comparison example: inspect its full-strand view, focal detail, listed dimensions, and current product information as separate evidence. Do not transfer details from one listing to another bracelet that merely looks similar.
Inspect Attachment and Stringing
For a hanging component, zoom in on the connection point. The loop should appear closed, the opening of a jump ring should meet cleanly, and the charm should have room to move without scraping directly across the stringing material. A bail should sit straight rather than pulling the component sideways.
For an engraved bead, check how the hole aligns with the symbol. A centered channel generally makes the focal bead easier to place. Look at the adjacent beads for gaps, compressed caps, or sharp findings that could rub against elastic. If the bracelet uses a clasp, review both the closed and open views so the fastening method is clear.
Construction cannot be judged from decorative copy. Useful evidence includes close photos, an accurate material list, the fastening type, bead diameter, and care information. When a connection is hidden in every image, ask to see it before relying on assumptions.
Choose Proportions for the Wrist
Symbol scale and bead diameter work together. A small engraving on a large bead may leave generous empty space, while a wide mark on an 8 mm bead can approach the drilled edges. Product images are often enlarged, so use listed measurements to understand the actual proportion.
Fit also changes how often the focal element stays on top of the wrist. A very loose bracelet rotates more freely; a close fit moves less but still needs enough room for comfortable wear. Use the bracelet size guide as a starting point and follow the sizing method shown there rather than estimating from a model photo.
If the bracelet will sit beside a watch or another strand, compare total width as well as circumference. Place the rune piece nearest the open side of the wrist stack during a trial so you can see whether the motif remains visible or disappears between larger beads.
Photograph the Bracelet Without Hiding the Evidence
Use indirect daylight and a plain background. Photograph the bracelet flat, then prop the focal bead slightly so the symbol faces the camera. Add a 45-degree view to reveal depth, followed by a close image of the attachment or drilled channel. Keep at least one uncropped full-bracelet image so the viewer can understand the symbol’s position within the complete strand.
Include a ruler or stated dimensions for scale, but do not cover the motif. Avoid heavy sharpening and filters that make cut edges look cleaner than they are. A short rotation video can be useful for reflective materials or flipping charms because it shows how visibility changes as the light and angle move.
Use a Listing Checklist Before Choosing
- Is the symbol shown directly and from an angle?
- Does the description identify the motif without unsupported interpretation?
- Are bead diameter, bracelet size, and focal-component dimensions listed?
- Can you see the drilled channel, loop, bail, or jump ring?
- Are the stone name, other materials, finishes, and disclosed enhancements stated?
- Are care, return, and contact details available before checkout?
Compare the same fields across pages. A listing with more dramatic photography is not necessarily more informative. Missing measurements or hidden connections matter more than a polished background when you are deciding how the bracelet will look and fit.
Store the Focal Detail Carefully
Keep carved beads and hanging components away from loose chains, keys, and sharp findings. A divided tray or soft pouch helps prevent the symbol from rubbing against harder metal surfaces. Lay elastic bracelets down rather than stretching them over a display object for long periods.
Follow the supplied care directions for the named materials and finishes. Check loops, rings, elastic, and the edges around drilled holes during routine handling. If a component becomes loose, stop wearing the bracelet until the connection can be evaluated.
Make the Symbol Legible by Design
A considered rune bracelet is built from observable choices: exact symbol reference, orientation, engraving edge, contrast, negative space, attachment, bead scale, and wrist fit. Review each choice separately, then look at the finished bracelet from normal viewing distance. The symbol should belong to the whole strand without depending on an unsupported story.
Browse crystal bracelets or compare the wider QZZEN shop when gathering visual references.
Create With QZZEN
Place a Symbol Within Your Bracelet Layout
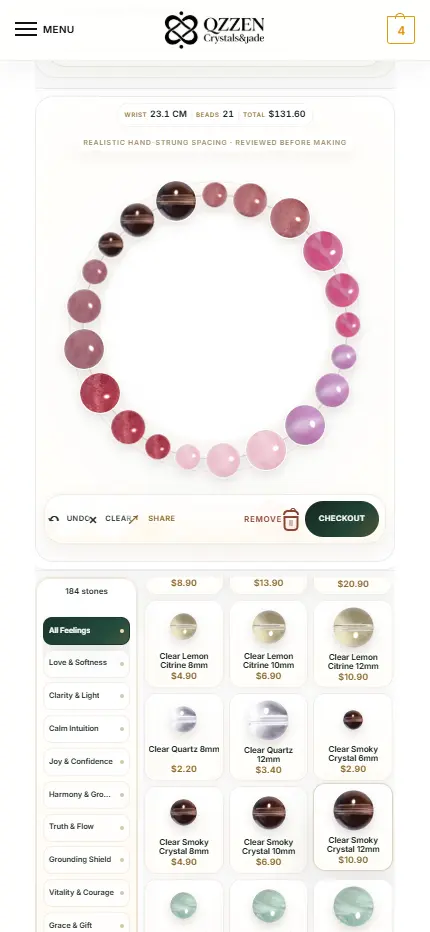
Use QZZEN Create to compare bead scale, color, spacing, and a finished circular layout before ordering. Keep the symbol reference and component details beside the builder while you arrange the surrounding beads.